
How to Repot a Bonsai Tree Step by Step
Repotting looks intimidating the first time, but it's really a fixed sequence of steps done carefully, and once you've done it a few times the process becomes routine.
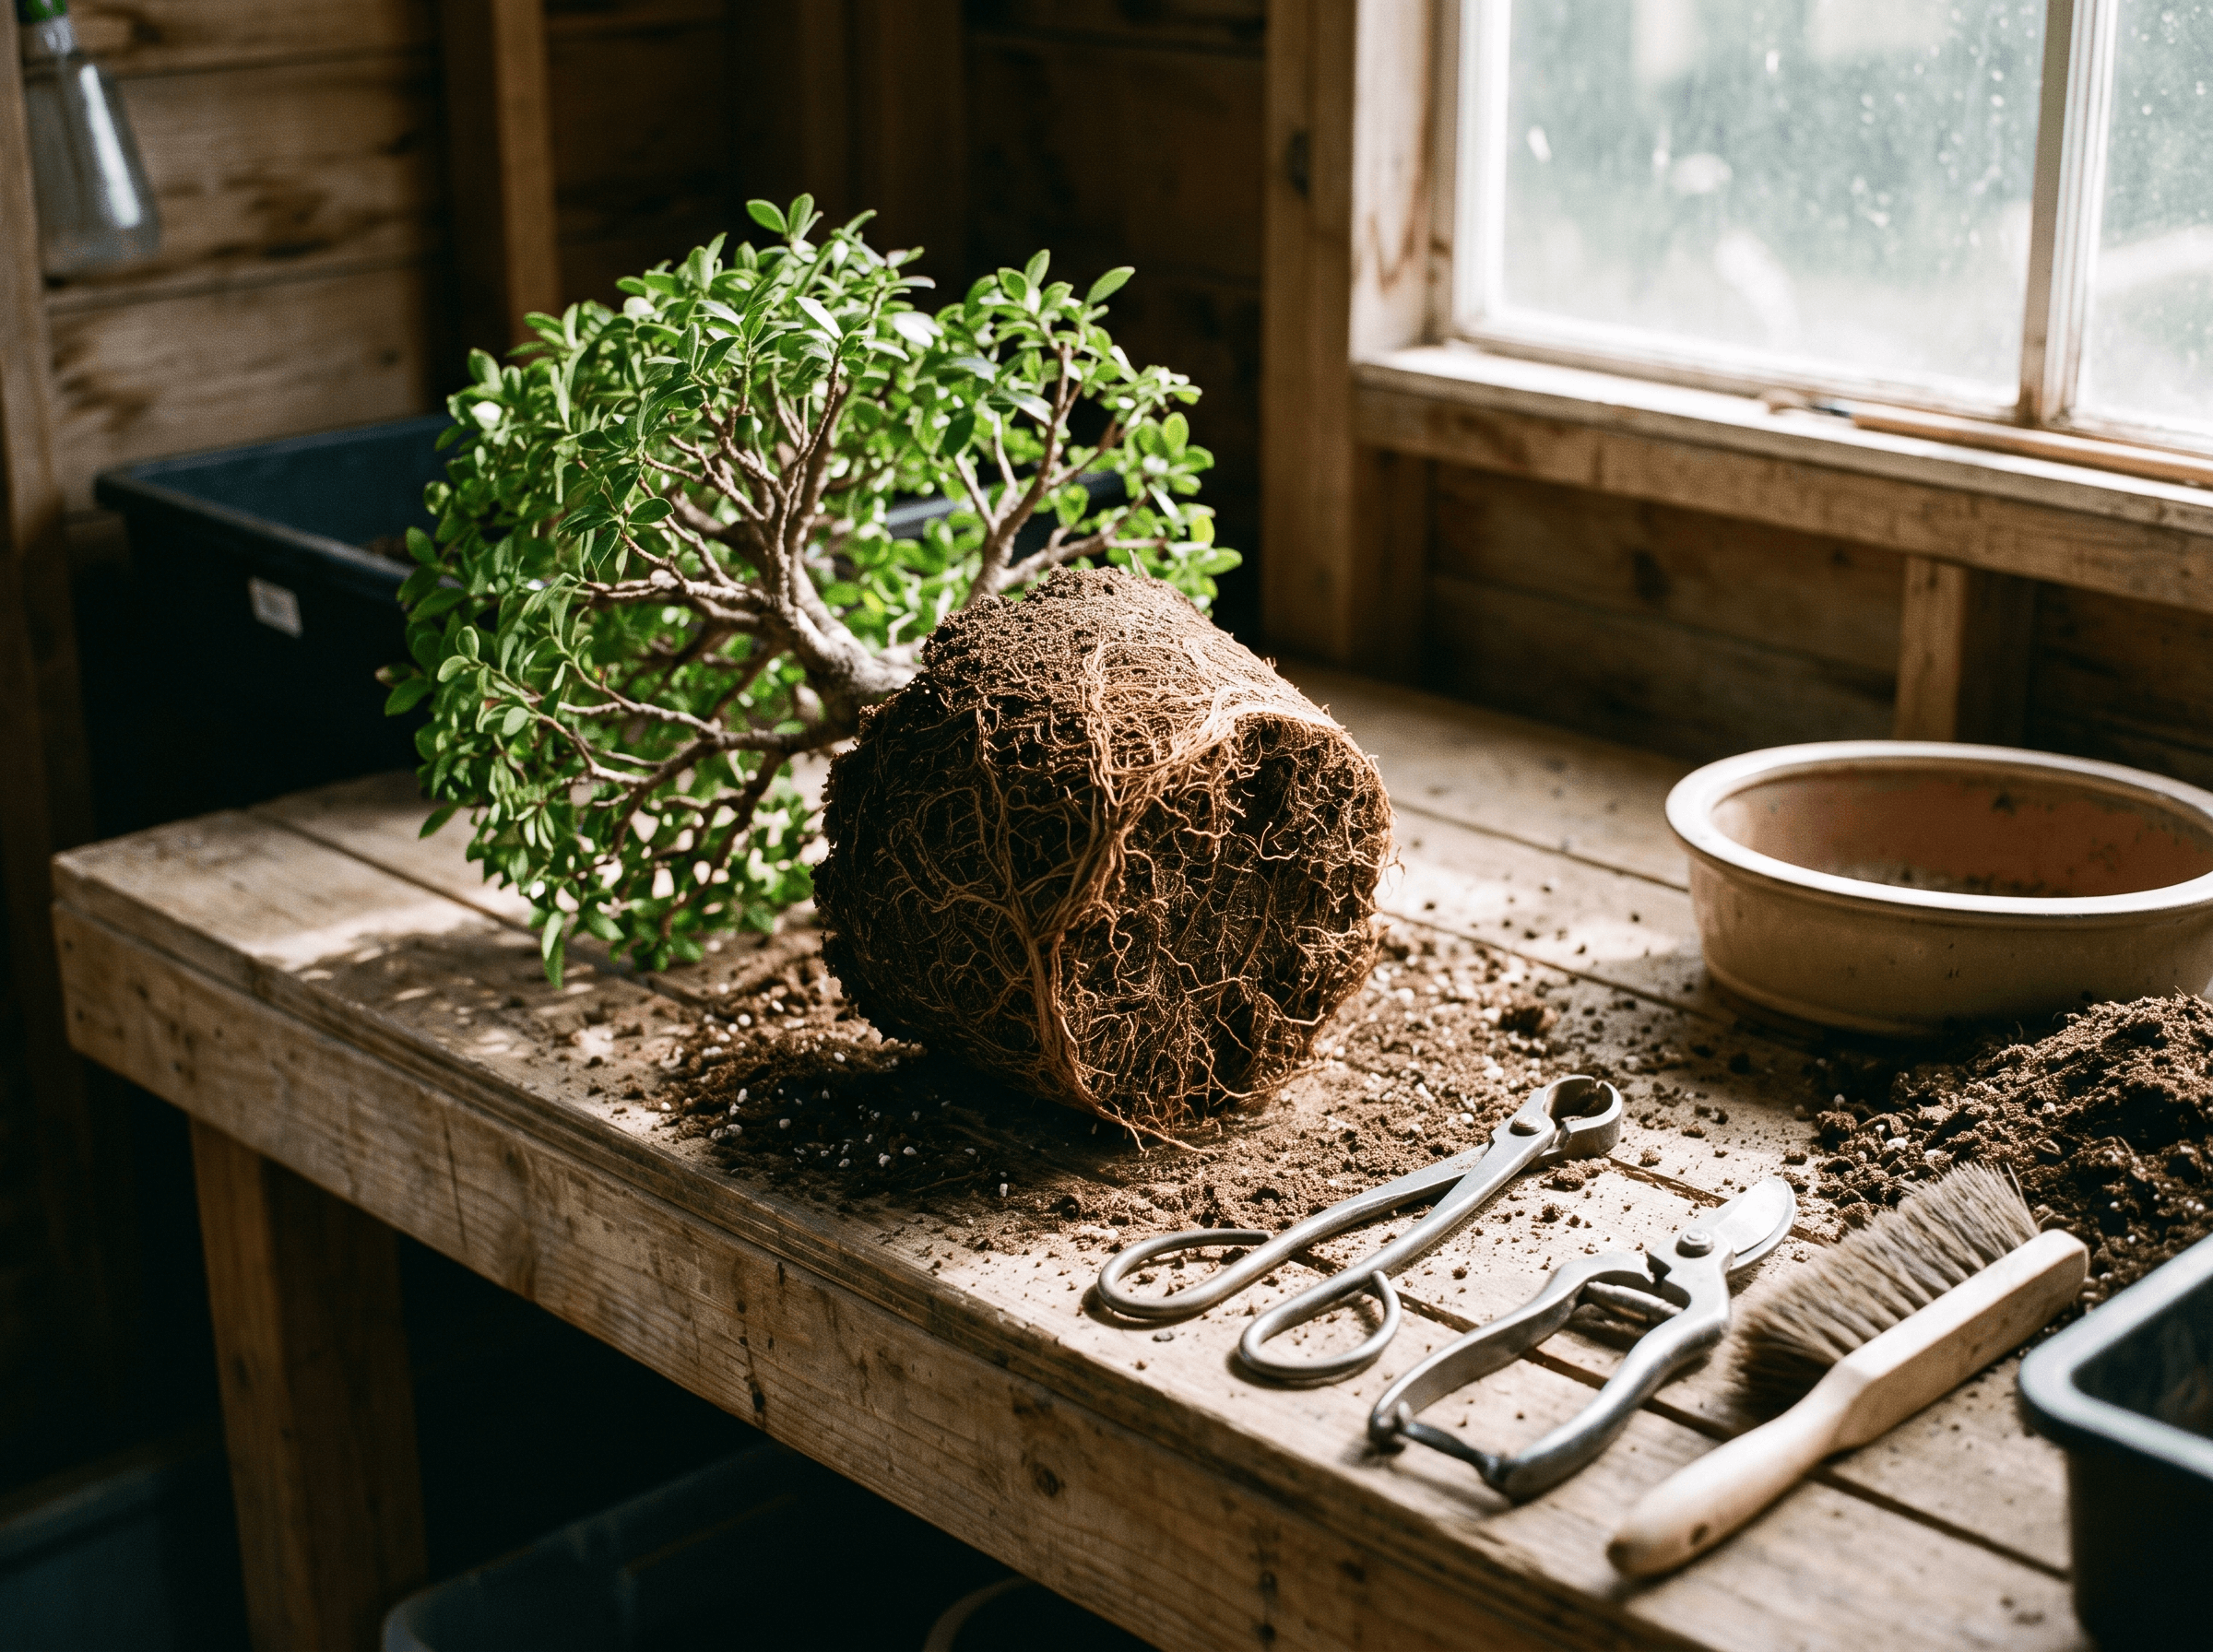
The first repot I ever did on my own, without someone standing over my shoulder, took nearly two hours for a tree that should have been a twenty minute job. I checked every root three times, second-guessed how much soil to remove, and generally treated the whole thing like it might go wrong at any moment. It didn't, and it taught me that most of the anxiety around repotting comes from not having a clear picture of the sequence, not from the actual difficulty of any individual step.
Once you break it down, repotting is really just a handful of stages done in order: get the tree out of the pot, clean up the old soil and roots, prepare the pot, secure the tree back in, fill in fresh substrate, and water it in properly. None of these individual steps are technically hard. What takes practice is judgment, mainly around how much root to remove and how the tree will handle the disturbance, and that judgment builds with repetition more than with reading about it.
Timing matters as much as technique. For most deciduous trees and many other bonsai, the main repotting window is late winter into early spring, generally as buds begin to swell and before strong new growth gets underway, since that's when the tree recovers fastest. Some species tolerate a second window in early autumn, and conifers are commonly repotted slightly later in spring than deciduous trees, but summer and deep winter are best avoided since the tree is either too heat-stressed to recover well or too dormant to grow new roots. Treat this as a general window rather than a fixed date, since exact timing still depends on your species and climate.
Here's the sequence I actually follow, more or less unchanged, whether I'm doing a small shohin or a much larger specimen.
Getting the tree out and combing the roots
Start by running a knife or thin blade around the inside edge of the pot to free the root ball, then lift the tree out. Once it's free, use a root hook to comb out the old soil from around and through the root mass, working from the outside in and from the bottom up. The goal at this stage is to loosen and remove enough spent substrate to actually see the root structure underneath and clear out any compacted pockets, not necessarily to strip away every last trace of old soil. Some conifers and other sensitive species are commonly repotted with a core of the original soil left intact near the trunk rather than fully bare-rooted, since removing all of it in one session can be more disturbance than the roots can recover from. Take your time here either way, a rushed combing job leaves compacted pockets of old soil that will keep the roots from making good contact with the fresh substrate you add later.
Trimming the roots
With the root ball combed out and visible, trim back the outer portion of the roots, generally the older, thicker growth around the perimeter and underneath, while preserving the finer feeder roots closer to the trunk that do most of the actual water and nutrient uptake. How much you remove depends heavily on the species and the health and vigor of that particular tree, a strong, fast growing tree in good health tolerates more root removal than an older or weaker one. As a rough benchmark, removing somewhere around a third of the root mass in a session is commonly tolerated on healthy deciduous and broadleaf trees, though conifers and weaker trees generally need a noticeably lighter touch than that. This is the step where experience matters most, and if you're unsure, it's safer to err toward trimming less rather than more, especially on a tree you're less familiar with.
Preparing the pot
Before the tree goes back in, cover the drainage holes with mesh squares to keep substrate from washing out while still allowing water to drain freely. If you're using tie-down wire to anchor the tree, thread it through the pot's tie-down holes now, before adding any soil, since it's much harder to do this once substrate is in the way. Add a layer of fresh substrate across the bottom of the pot, enough to give the root ball something to sit into once it's positioned.
Positioning and securing the tree
Set the tree into the pot in the position and angle you want it to grow, and if you're using tie-down wires, bring them up over the root ball and twist them together to hold the tree firmly in place. A tree that can rock or shift in the pot after repotting struggles to regenerate the fine roots it needs, since every movement disturbs the new root growth trying to establish contact with the substrate. Getting the tree genuinely stable at this stage matters more than people expect.
Filling in and watering
Add fresh substrate around the root ball, working it into all the gaps and spaces between roots with a chopstick, pushing it down in sections rather than just pouring it in and hoping it settles. Air pockets left in the soil are a common source of trouble after repotting, since roots that end up sitting against an air gap rather than substrate can dry out or fail to establish properly. Once the pot is filled to the right level, water thoroughly until it runs clear from the drainage holes, which helps settle the substrate into any remaining gaps as well as hydrating the disturbed root system.
Aftercare for the first several weeks
Keep the newly repotted tree somewhere sheltered from harsh direct sun and strong wind for several weeks after repotting, commonly cited as around six weeks for evergreens in particular, since the root system has just been disturbed and isn't yet able to support the tree under the same stress it could handle before. This isn't the moment for a full sun spot or an exposed windy bench. Once you see clear signs of new growth resuming, that's generally a good indication the roots are reestablishing and the tree can gradually go back to its normal position.
Common questions
Do I need special tools to repot a bonsai?
The core tools are a root hook for combing out old soil, sharp root scissors or shears for trimming, a chopstick or similar tool for working fresh substrate into the roots, and mesh squares for the drainage holes. None of it is exotic, but purpose-made bonsai tools do make the job noticeably easier than improvised substitutes.
How do I know how much soil to remove from the root ball?
As a general approach, comb out enough of the old substrate to clearly see the root structure and remove compacted pockets, without being so aggressive that you're tearing at fine feeder roots unnecessarily. Some conifers and sensitive species are often left with a core of original soil near the trunk rather than fully cleared out. The amount that's appropriate varies by species and by how root-bound the tree was to begin with.
What kind of substrate should I use when repotting?
A well-draining, particle-based substrate suited to the species is standard, since bonsai pots are shallow and don't tolerate substrates that hold excess water well. The exact mix varies by grower and by what's regionally available, but drainage and structure matter more than any single ingredient.
Why do I need to secure the tree with tie-down wire?
A tree that can shift or rock in the pot after repotting disturbs the new, delicate root growth trying to establish itself in the fresh substrate. Tie-down wire holds the tree physically stable through that establishment period, which meaningfully improves recovery.
How soon after repotting can I fertilize?
Practice varies, but many growers wait somewhere around two to four weeks, or until new growth resumes, before starting fertilizer again, especially after significant root work. The disturbed root system isn't in a great position to take up nutrients right away, so there's little to gain from rushing it, though exactly how long to wait depends on the species, the tree's condition, and how much root was removed.
Can I repot a bonsai that's flowering or fruiting?
It's best avoided if possible, since flowering and fruiting are already demanding on a tree's resources and adding the stress of root disturbance on top of that is asking a lot. Where practical, timing the repot outside of those periods gives the tree an easier recovery.
How do I fill soil into the pot without leaving air pockets?
Add substrate gradually rather than all at once, and work it into the gaps between roots with a chopstick as you go, pushing gently down into the root mass in sections. Watering thoroughly at the end also helps settle any remaining loose pockets.
You might also like
General guidance based on 20+ years of practice. Every tree and every climate is different — when in doubt, ask us.